
Getting started
Launching c4b
When you launch c4b, you are redirected to the main page
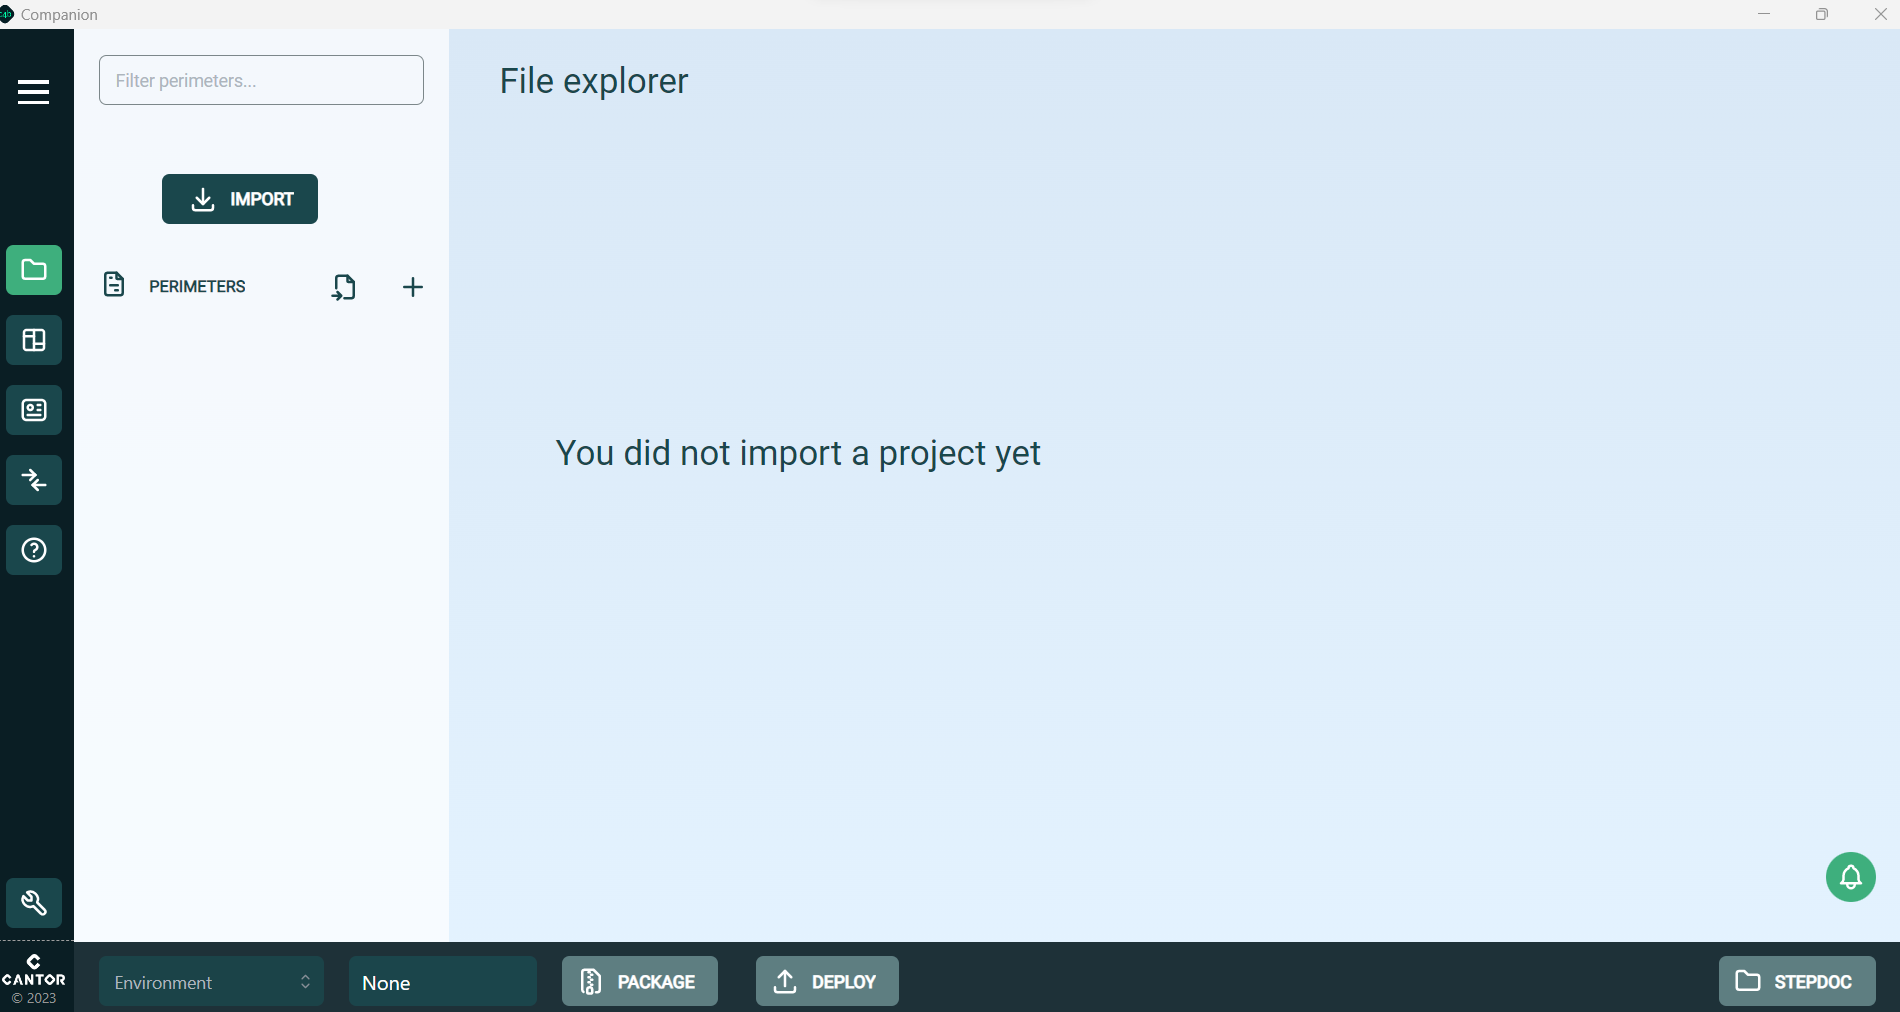
Import a project
TIP
Ensure that you have initialized your first project with the Cantor support
Each project is composed with multiple Excel files spread into multiple folders.
You can import the pom.xml that is included in the project.
Add new perimeter
You can add as many perimeter you want in c4b. A perimeter allows you to manage some of the Excel files in your project. It is a subset of files of the entire project.
Benefits:
- Work on different perimeters than your colleagues
- Leave work in progress aside and deploy what is ready
- Prepare files for a future data model update that cannot be deployed yet
- Immediately fix an issue on data model in one of your environment
TIP
At any time, you may choose one of available perimeters.
The current perimeter is shown close to the current STEP environment.
Manage perimeter
When you have set several perimeters, you can add or remove Excel files from your project
Add new environment
To add a new environment, choose the tab ENVIRONMENT and click on + and set a name.
Once this is done you must specify:
- Url of your environment
- Username of the user that has the privilege for importing datamodel configuration
- Password of the above user
- ContextID that will be used by default to update your data model (unless you specify differently in Excel files: see example
- Workspace: Main workspace to update
- ReST API Version of your STEP environment: leave it empty by default
- Save changes
Test connection
Use the test button to check environment connection and credentials.
If the icon turned red, it means that your step environment is unaccessible, check again your informations.
TIP
Not sure how to handle the settings? Ask us for support!
Add a licence
Check the installation section
Package and Deploy
When you are ready to deploy some changes in your data model after modifying Excel files, select an environment and click on PACKAGE and DEPLOY.
PACKAGE will create a STEPXML in the background.DEPLOY will deploy the created STEPXML on the selected environment.
TIP
Click on the notification to see the details of the deploy command and see what has been imported in the environment and eventual errors.
WARNING
Package requires parameters in selected environment: ContextID, Workspace.
Deploy requires parameters in selected environment: Url, Username, Password, ContextID, Workspace.
Using Diff
c4b allows you to easily see differences on your configuration between two different environments.
To enable the feature, the configuration ID should be filled for both environments in the ENVIRONMENT tab of the c4b interface.
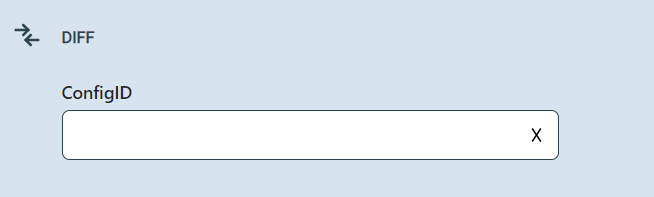
This configuration is an export configuration in STEP using STEPXML format.
Principle:
- STEP export is launched on both environments (using the Export Config ID for each environment).
- C4b fetch both STEPXML.
- C4b build graphical comparisons screens and main page for easy navigation.
To use this powerful tool, go to the Diff tab, choose two environments that you want to compare and click on DIFF
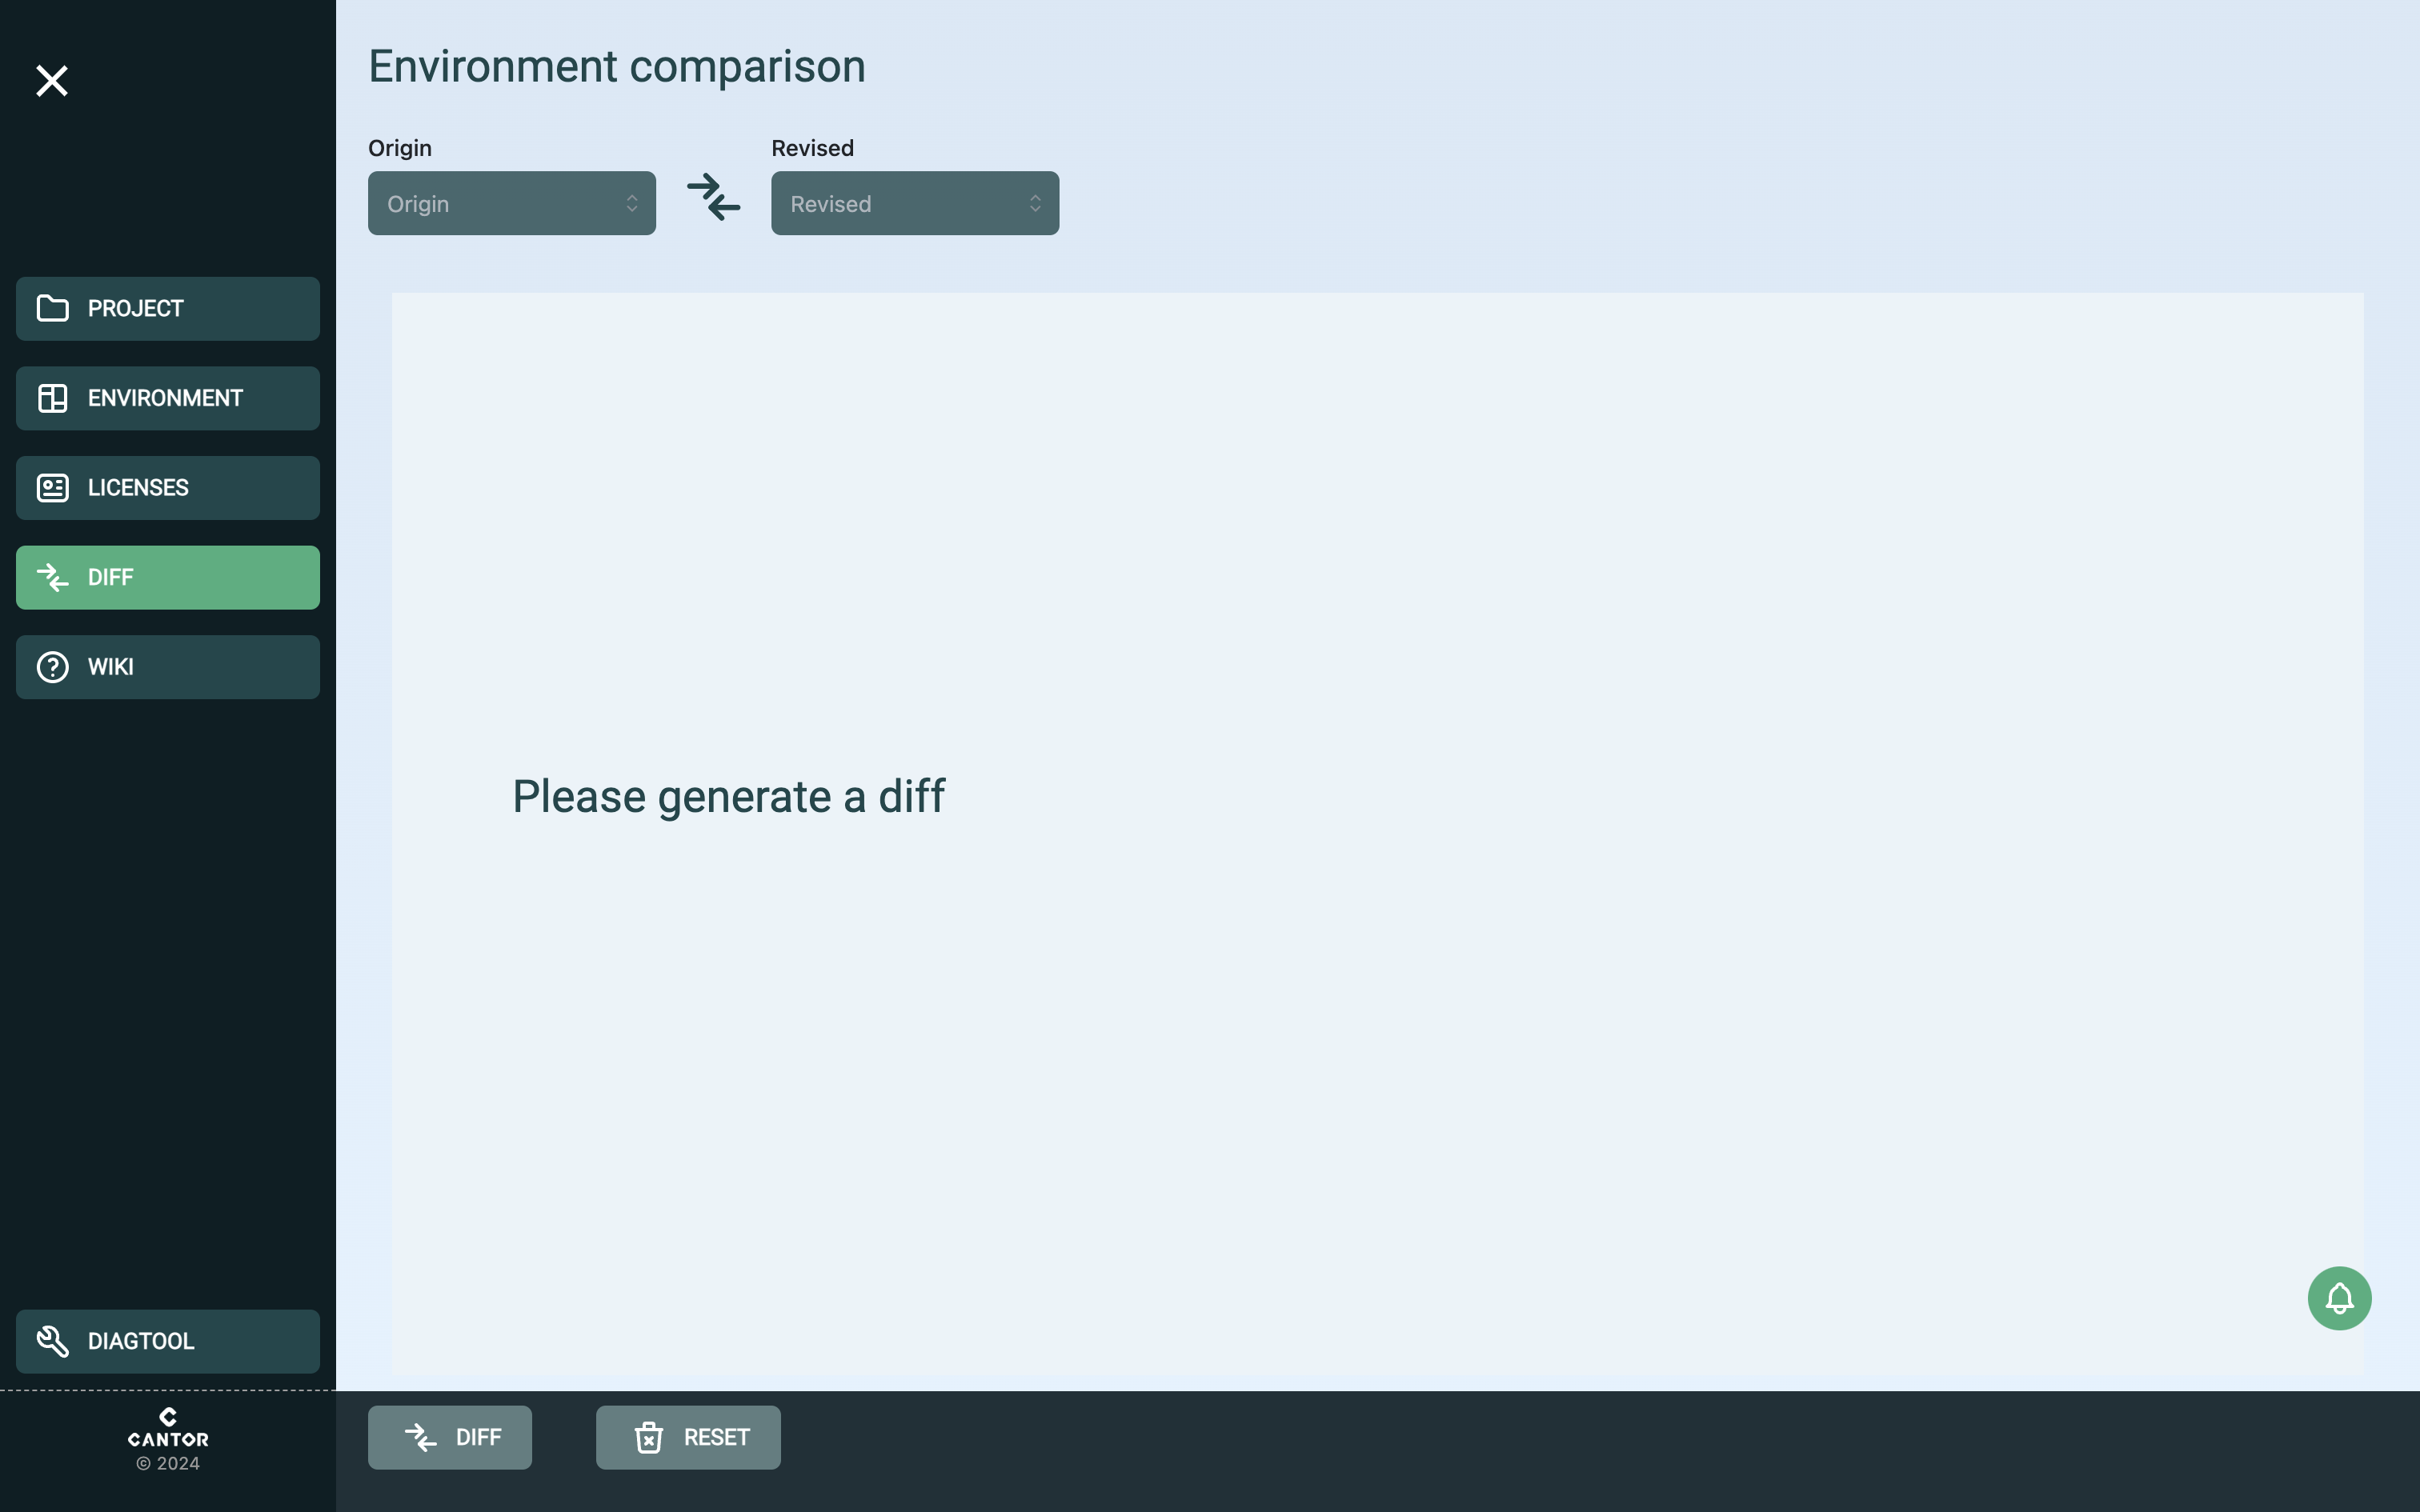
You will get the result of differences between environments.
Change on attributes
Here the name of the attribute is different on the origin environment (red) than the one in the compared environment (green) 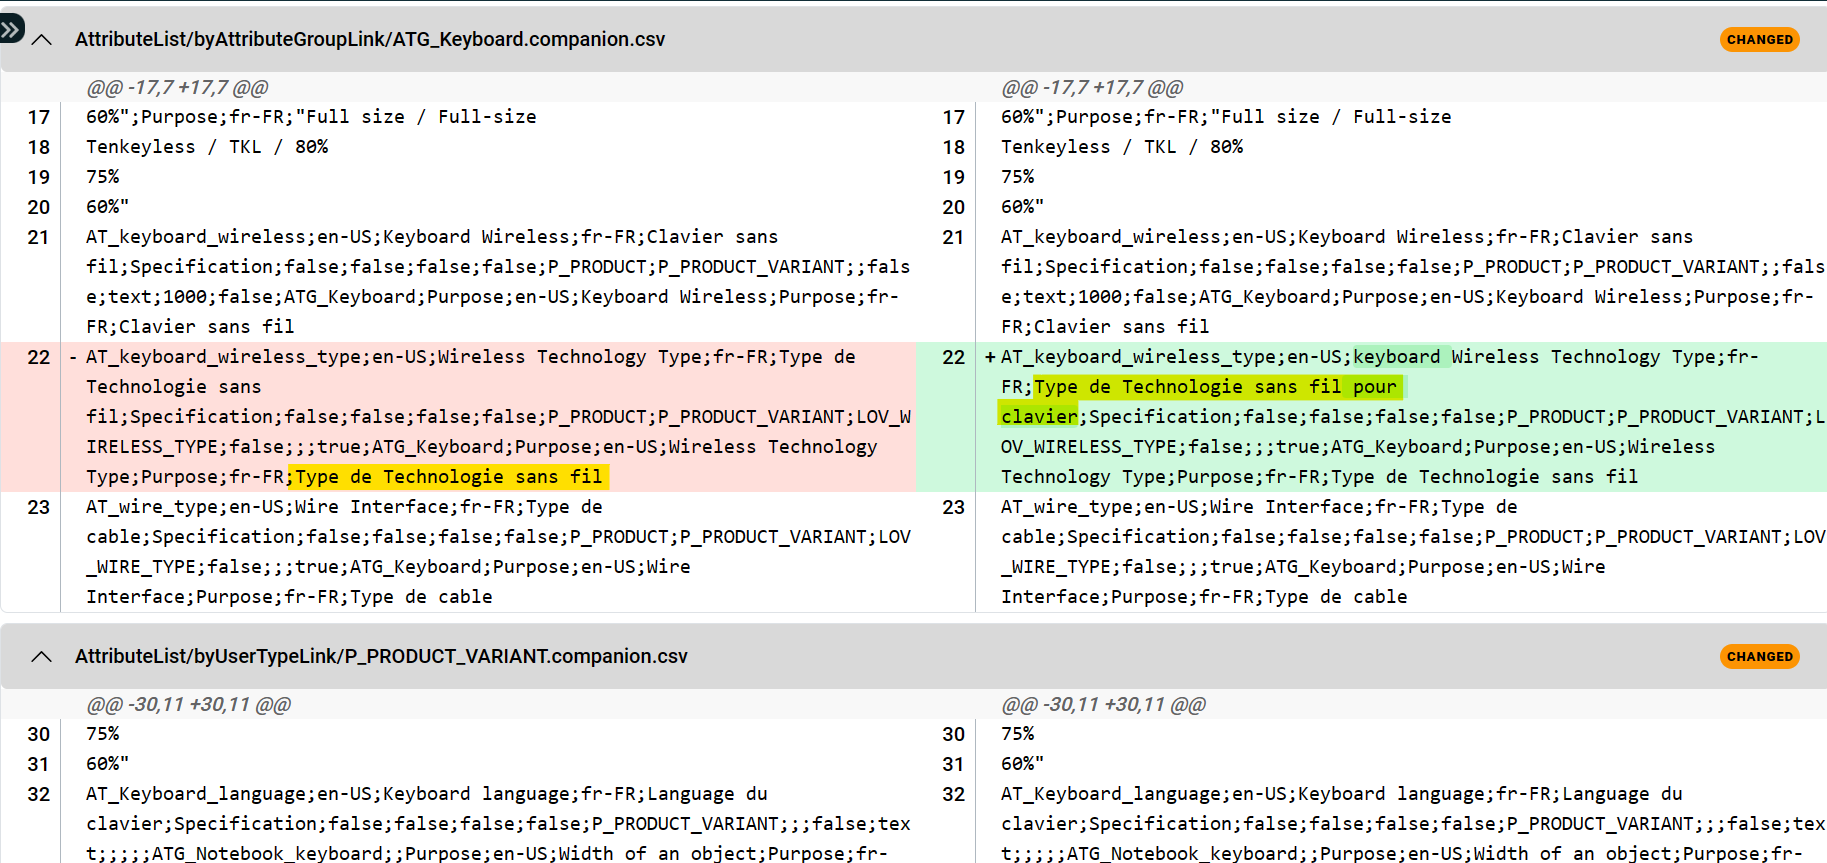
Change on ListOfValues
Here there is one more value in the List Of Value of the compared environment (green) than the origin environment 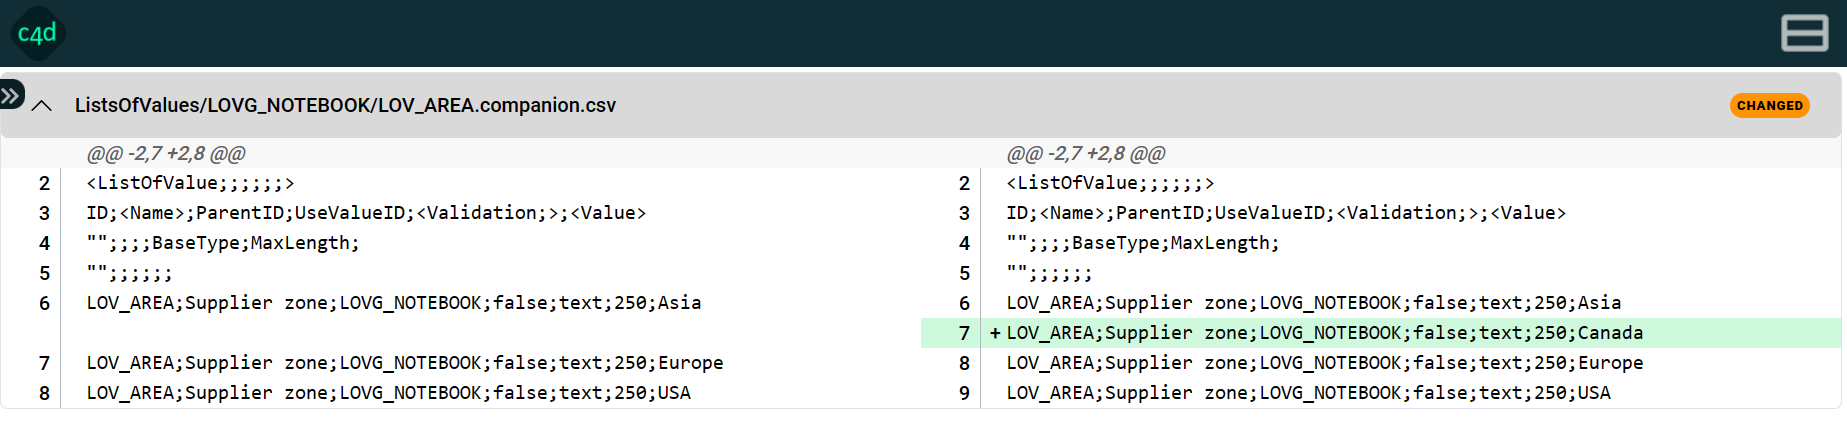
Change on Attribute Links
Here there is one more attribute links in the origin environment (red) than the compared environment (green) 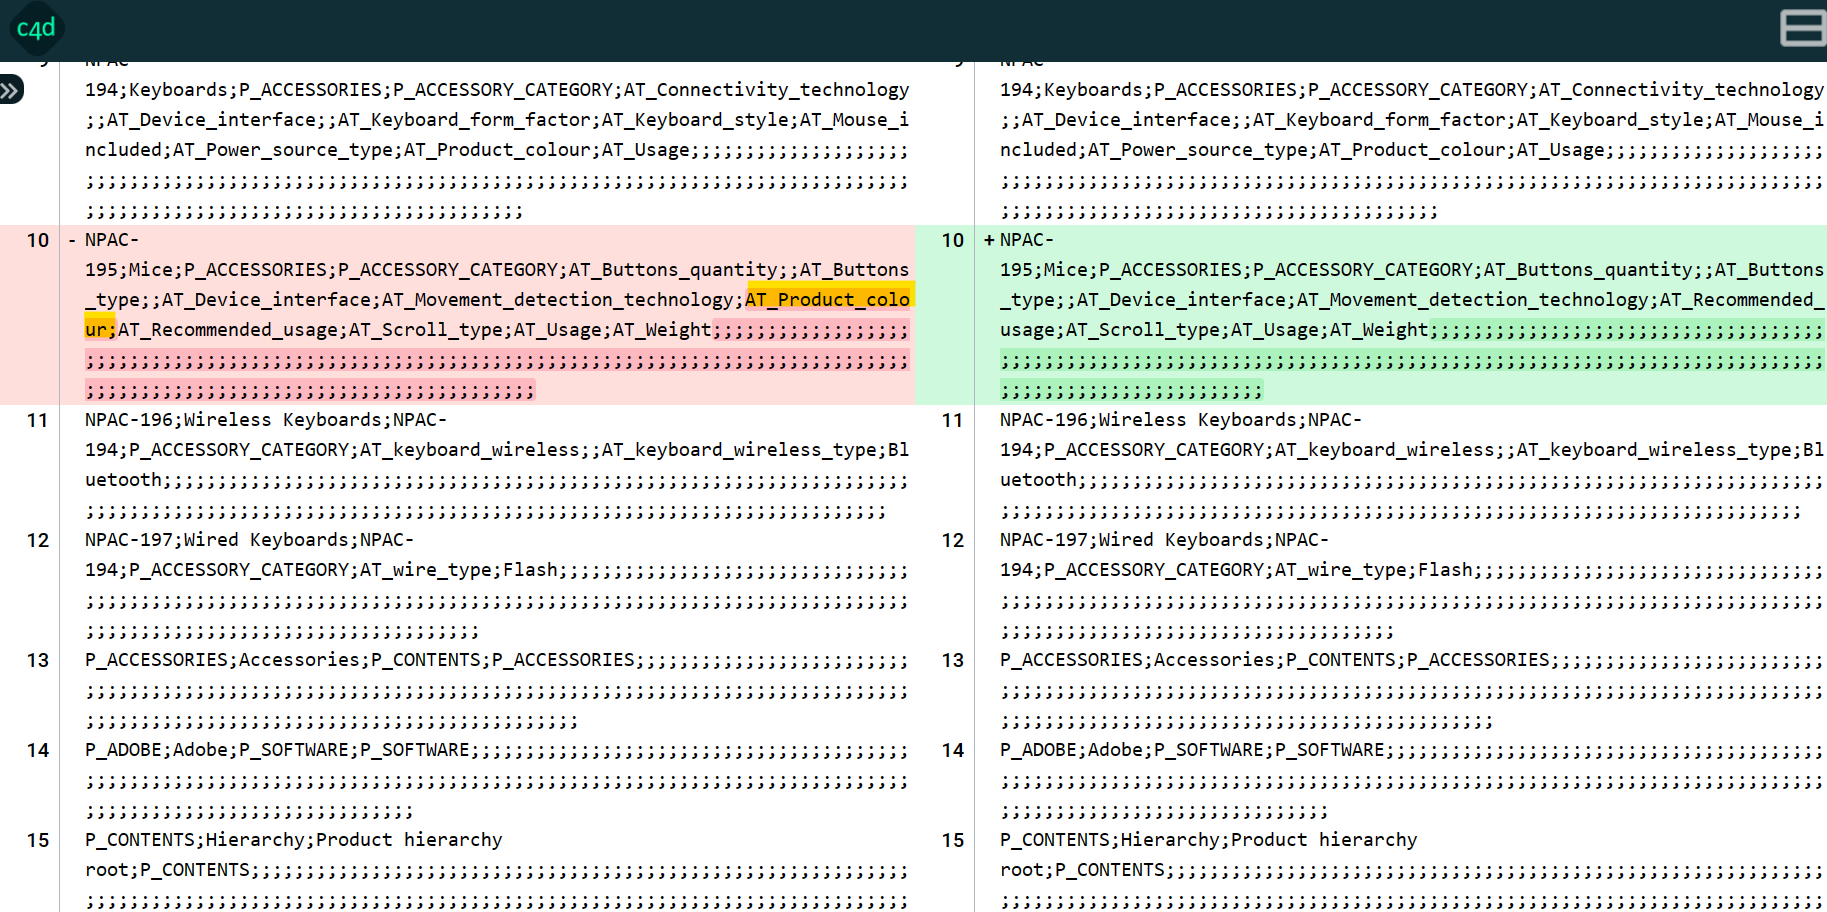
Change on Web classification
Here there is one classification removed (red) from the origin environment and two added (green) on the compared environment: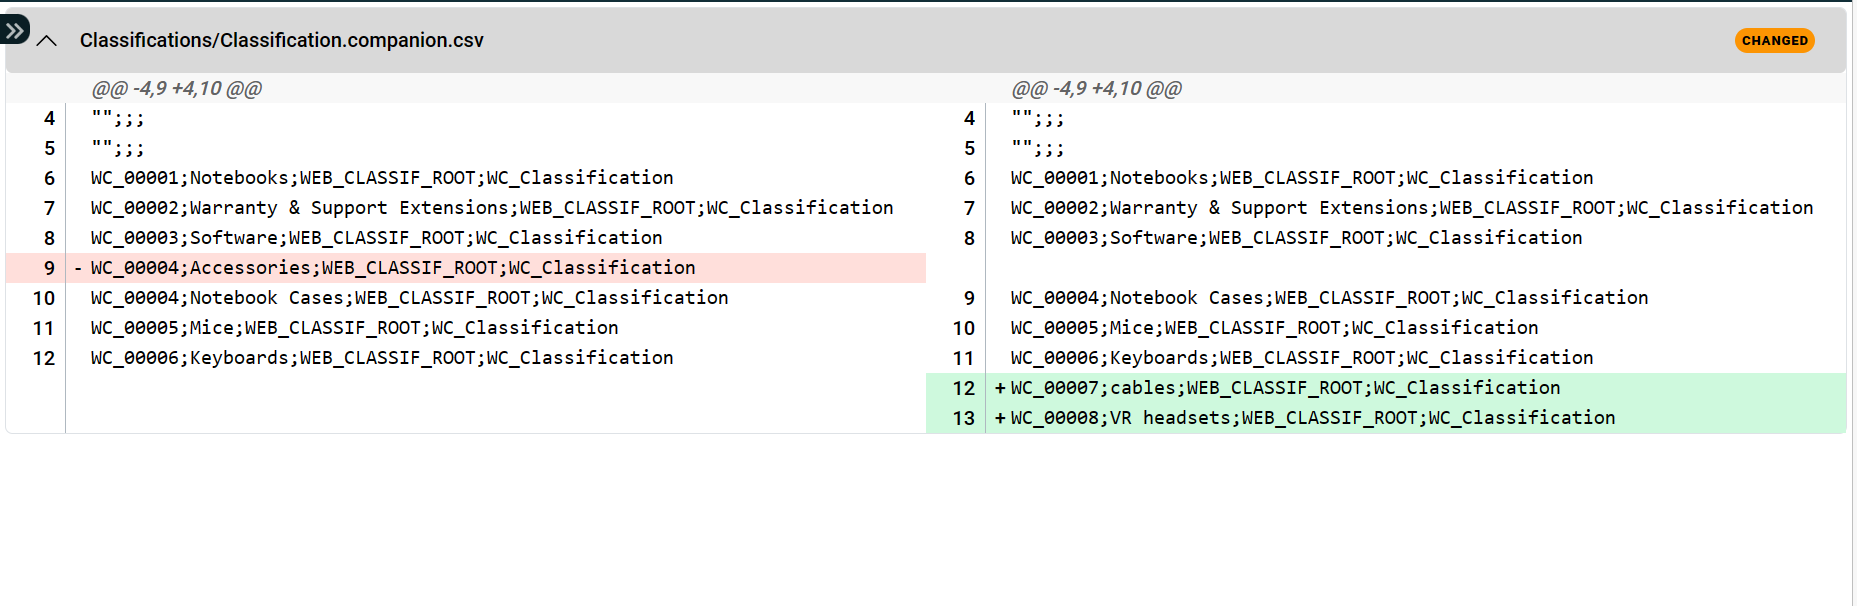
Diag-tool
Check the diag-tool section in FAQ chapter.
Cooperate with IT
You can find information on available scenarios to work with IT in the introduction section
In this section we will see how you can technically collaborate with the IT Team when using c4b and following the scenario 1 where the Business team needs to send their files to the IT team.
- Send the perimeter information to the IT team
You can export the details of your perimeter by clicking onEXPORT PERIMETERof the main tab after choosing one perimeter. Save the file that will be generated and send it to the IT team.
- Use the tool to generate CSV
Use the tool XLS to CSV provided by Cantor to transform your Excel files into CSV files and send them to the IT Team.
Because CSV is a plain text format and not binary as Excel, it is easier to track differences by using source control system like Git. IT team will then be able to apply your changes in a smooth manner.